For getting started, please follow the instructions below:
1. Go to Virtual Box, download and install the VirtualBox platform packages for your particular OS.
2. Download “Kali Linux” from either Kali Linux 1.0.5 32-Bit ISO or Kali Linux 1.0.5 32 Bit Torrent).
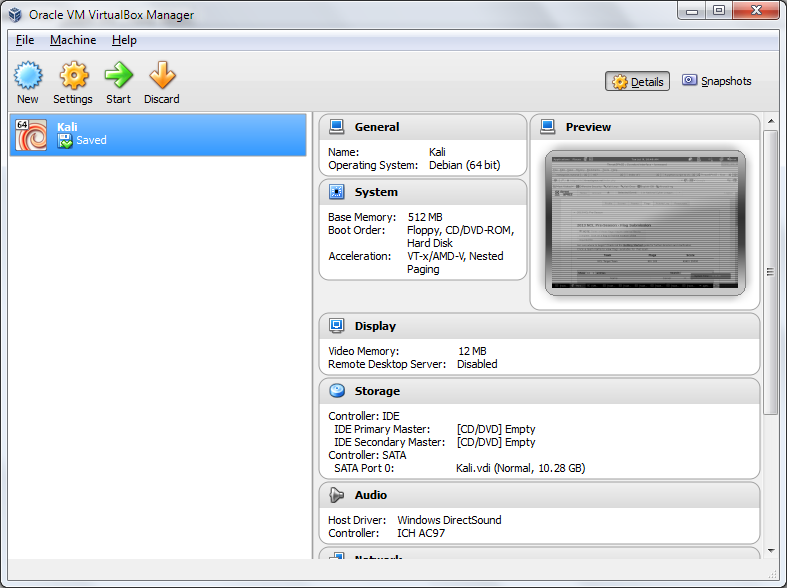
3. Open up the VirtualBox application and you will see something like this (without Kali being installed):
4. Press “New” at the top left corner.
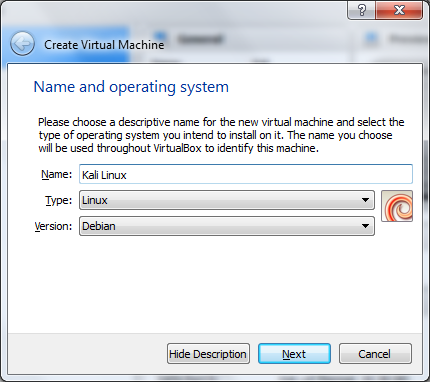
5. Name your new virtual machine as Kali Linux.
6. Choose “Type” – Linux.
7. Choose “Version” – Debian and press “Next”.
8. In the “Memory size” window you can choose more or less memory allocated for Kali Linux (384 or 512 MB is pretty much enough; besides, you will be able to change all those settings at any time). Press “Next”.
9. Choose “Create a virtual hard drive now” and press “Next”.
10. Choose VDI (Virtual Disk Image) and press “Next”.
11. Choose “Dynamically allocated” and press “Next”.
12. You can leave the “File location and size as it is (8 GB) or you can add more if you want to, for example, you can choose 10 GB). Press “Create”.
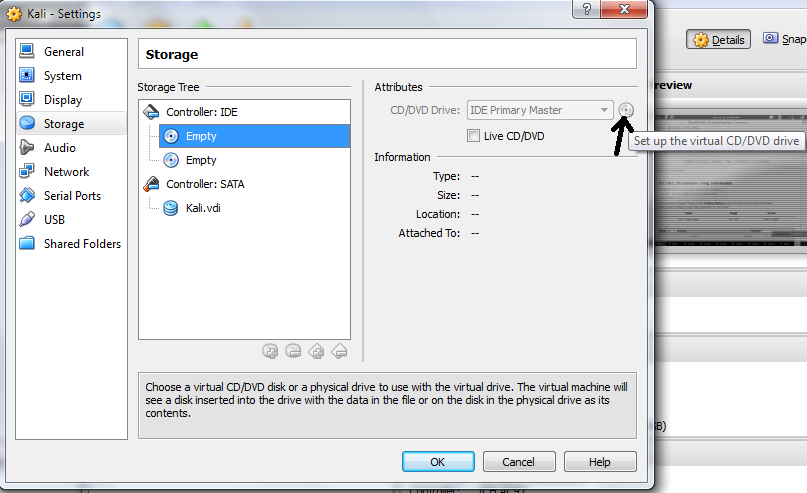
13. After creating this, you need to add your Kali Linux .iso image to the virtual machine. So, go to “Settings” of the Kali Linux in the Virtual Box Manager. Then choose “Storage” menu, click on the “Empty” of the virtual CD controller and click on “Set up the virtual CD/DVD drive” as shown below:
14. In the pop-up window choose the location of the Kali Linux.iso image, previously downloaded.
15. Press “OK” in the “Settings” window.
16. Now you can start your new virtual machine! Click on “Start” in the Virtual Box Manager.
18. Choose “Install with a graphical mode” on the screen.
17. Follow the instructions on the screen.